


European illustrated shirt ironing sequence
Ironing a shirt — Step 1: collar and shoulders
Begin with the collar and shoulder area. These structured sections are easier to finish before the larger panels and help set the shirt's overall shape.
Iron the collar

Open the collar completely and place it flat on the board. Iron the reverse first and then the visible side when the fabric permits it. Move from each point toward the centre to reduce small folds along the edge.
- Remove detachable collar stays before applying heat.
- Use the temperature shown on the care label.
- Do not create a sharp crease along the natural collar fold unless the construction requires it.
Move to the shoulders and yoke
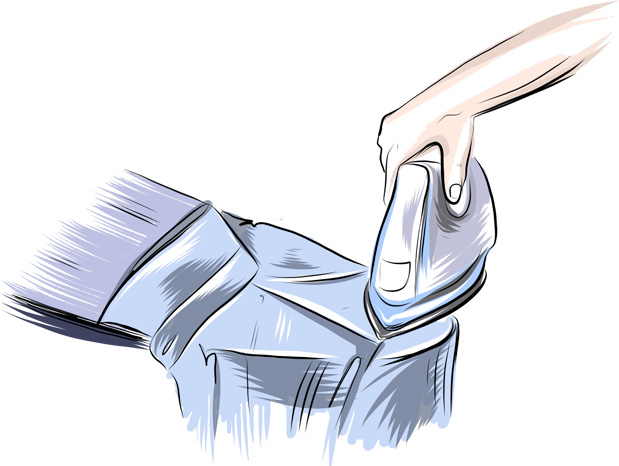
Place one shoulder over the pointed end of the board and smooth the yoke without stretching the fabric. Iron the front shoulder area and then the back, rotating the shirt as needed. Repeat on the other side.
Keep the fabric relaxed. Pulling the yoke can distort seams and create new folds beside the collar.
Before moving to the sleeves
- Confirm that both collar points lie flat.
- Check the seam joining the collar and yoke.
- Allow the fabric to cool briefly before moving the shirt.
- Keep the finished collar away from the area you will iron next.
Continue with sleeves and cuffs
Step 2 explains how to align the sleeve seams and iron the cuffs without damaging the buttons.
Extra DISCOUNT 10% OFF
Use code: RESTYLE - minimum purchase 99 EUR
Use code: RESTYLE
minimum purchase 99 EUR
Login and Registration Form